Sponsored By
Latest News
Aug 15, 2024
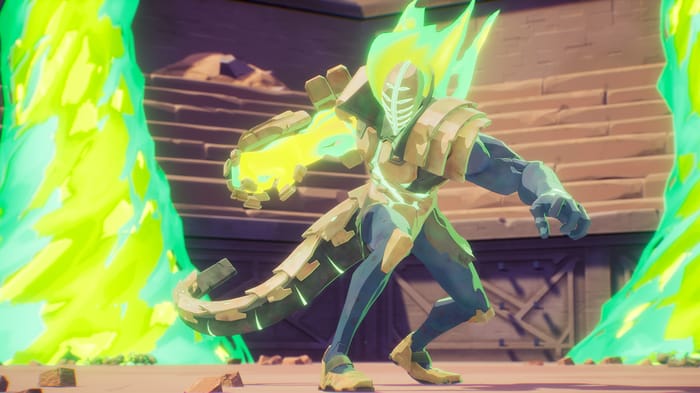
A combat encounter playing out in Arco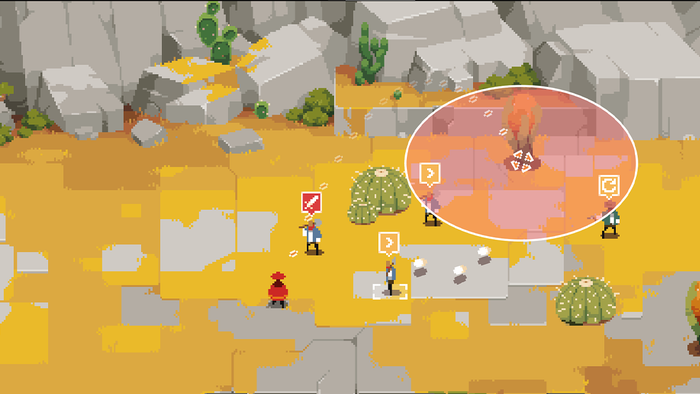
Design
Why 'fuck around and find out' became the backbone of Arco's combat
Why 'fuck around and find out' became the backbone of Arco's combat
'We wanted players to try different things and fail—but then try again. Because the combat shines when you play around with it.'


奥5官方网站-澳洲幸运5开奖历史记录-幸运5开奖
Read More


Get daily news, dev blogs, and stories from Game Developer straight to your inbox
Subscribe to Game Developer Newsletters to stay caught up with the latest news, design insights, marketing tips, and more


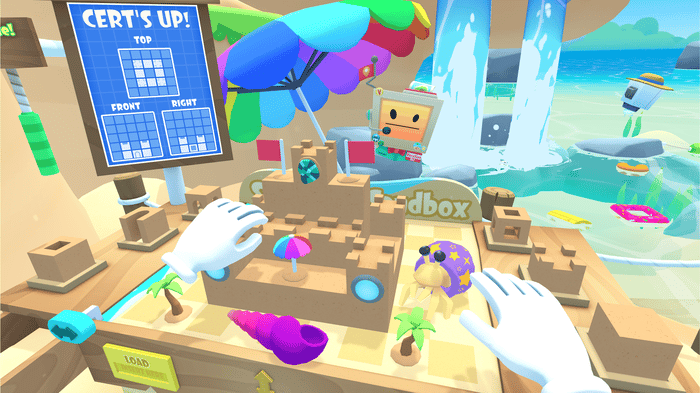
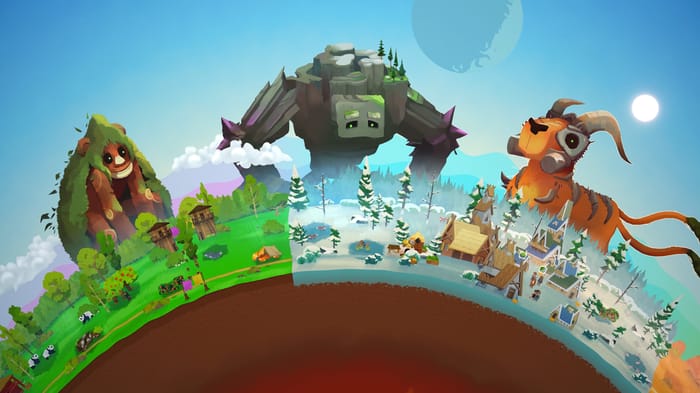
Cooking Games Spotlight: Deep Dives, Interviews, and More
Read More.jpeg?width=300&auto=webp&quality=80&disable=upscale)


Game Developer Essentials
More resources for devs


Latest Featured Blogs on Game Developer
Starting up and running your own outsourcing studio

A quick-to-the-point interview with Rob Moody about starting up and running an animation outsourcing studio.
From Our Sponsors
LEARN MORE


Sponsored Content
Mar 8, 2024
.png?width=300&auto=webp&quality=80&disable=upscale)